
Last updated September 10, 2026
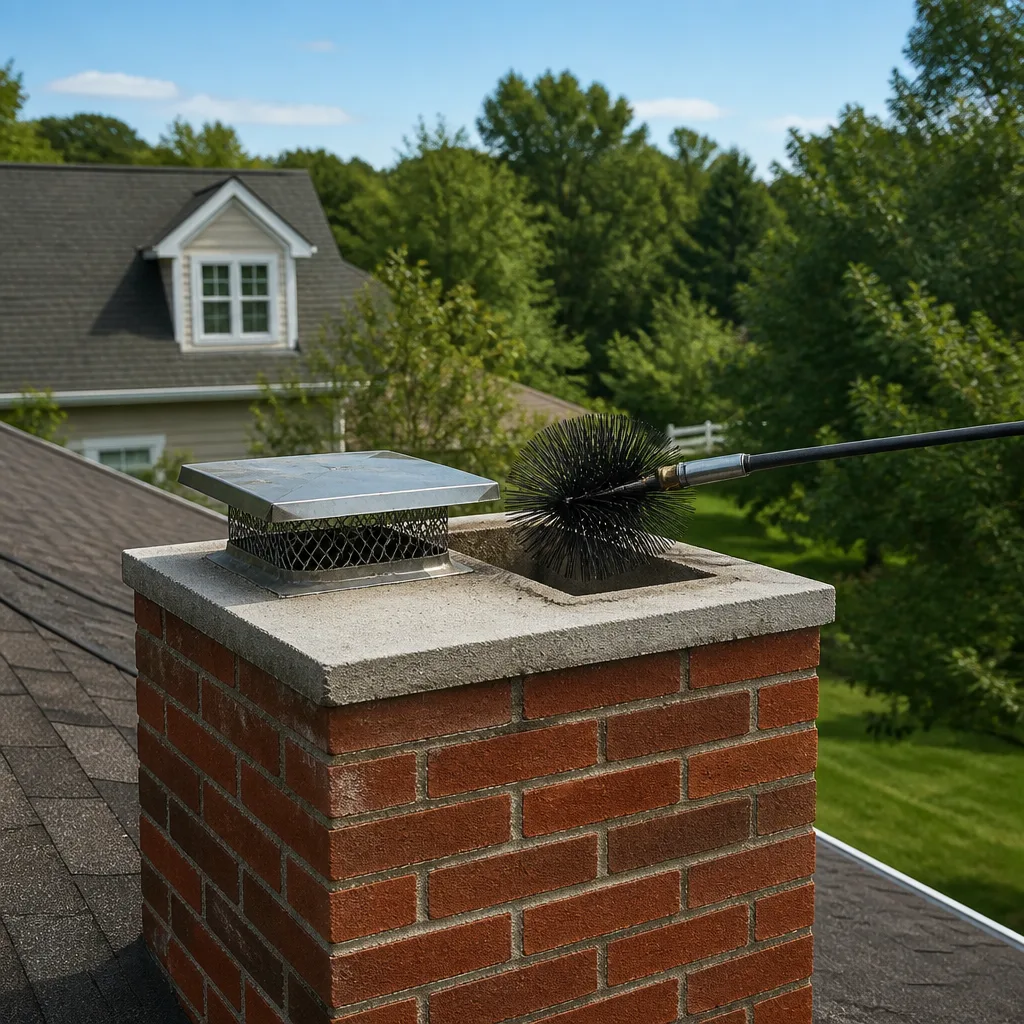
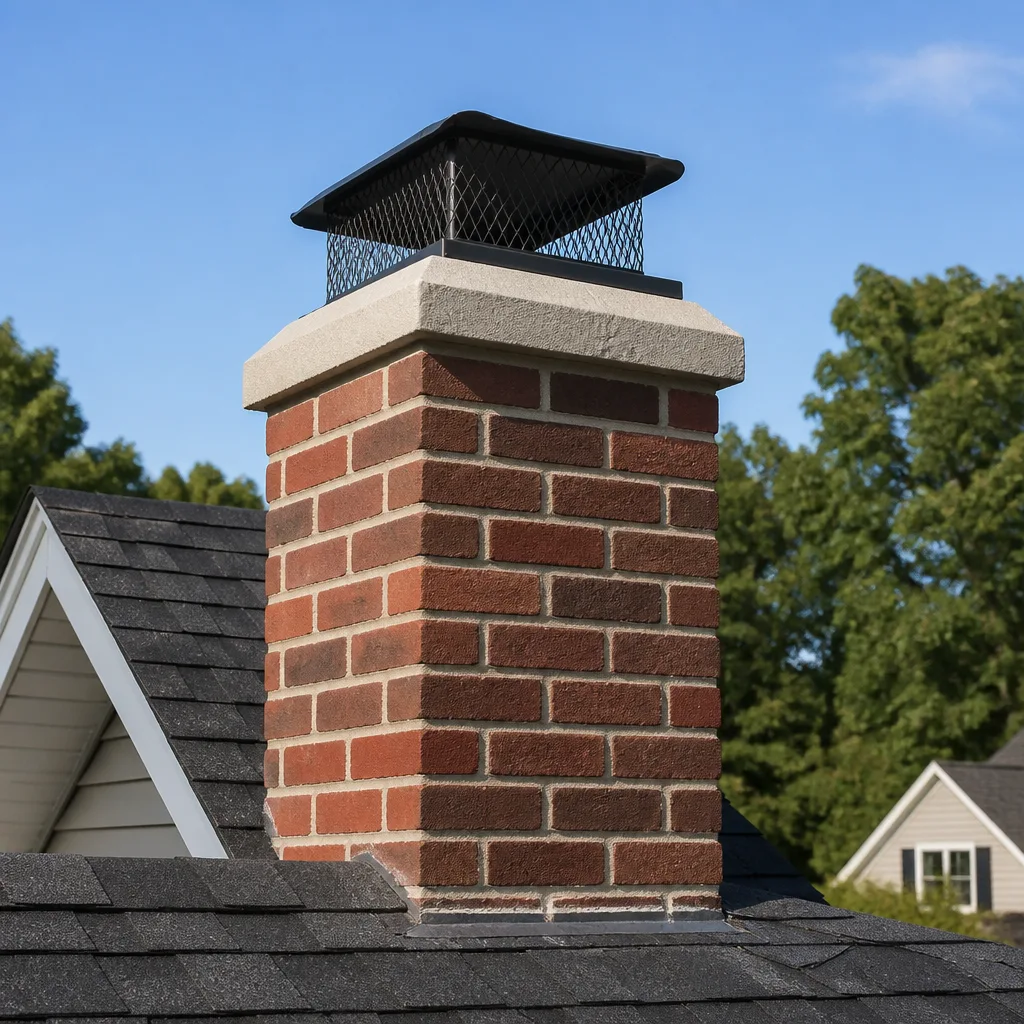
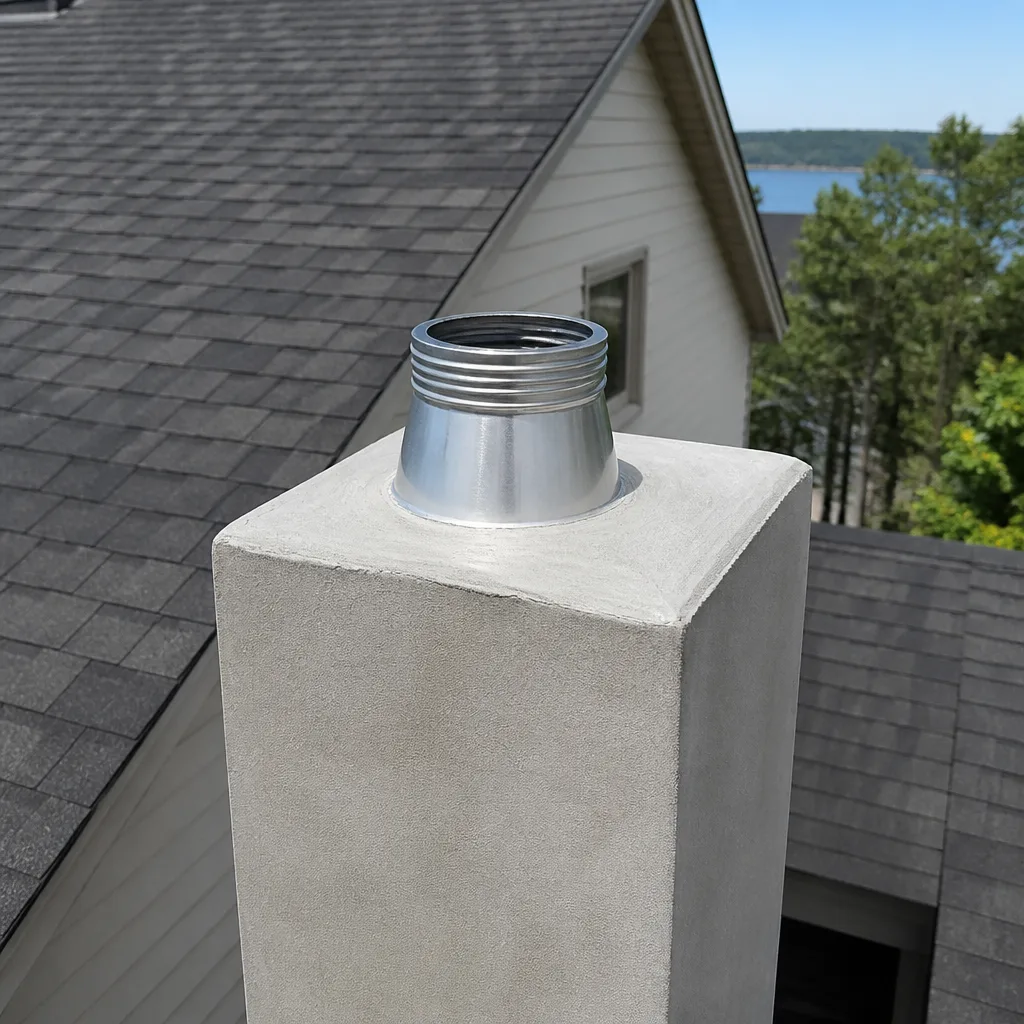
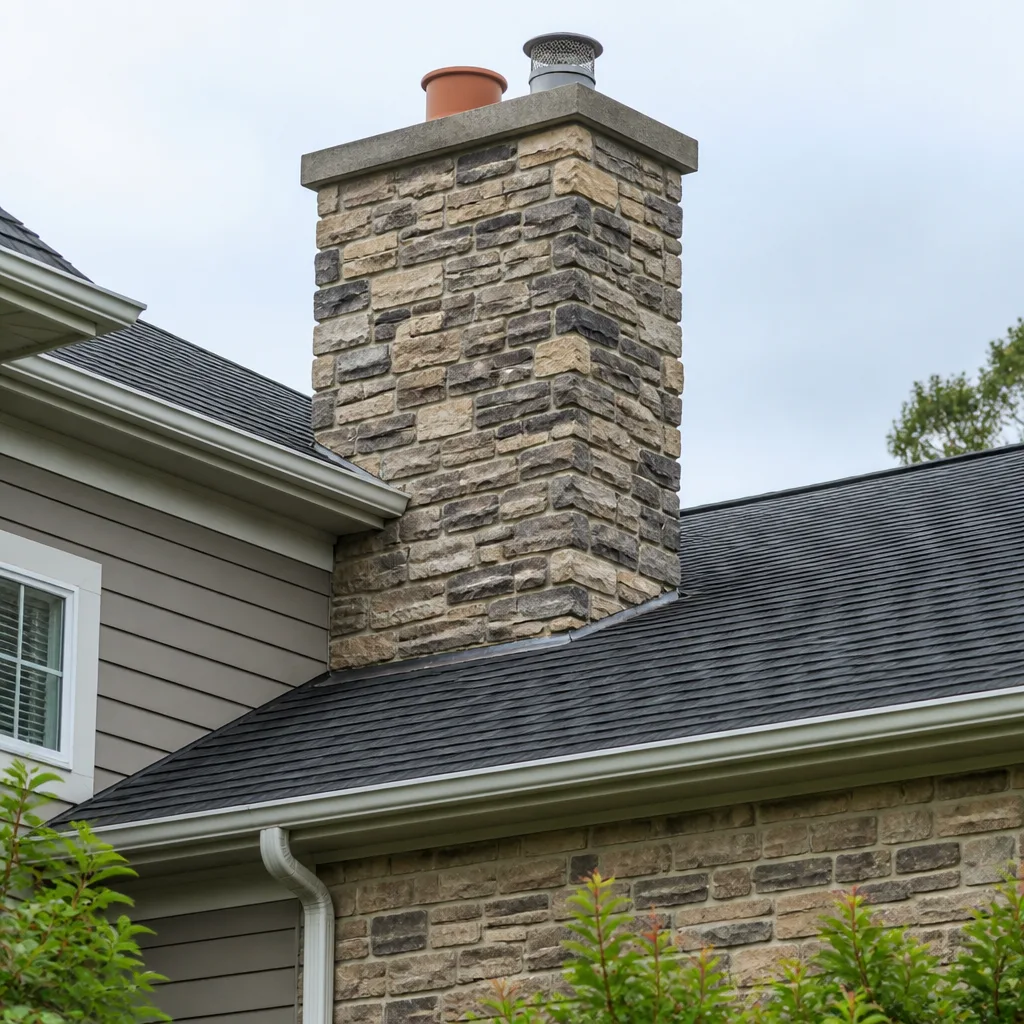
Level 1 sweep and inspection to the NFPA 211 annual standard - flue, crown, cap, and flashing checked and photographed
Chimney sweep logs do not sweep chimneys. They loosen some creosote - which then falls where a brush and vacuum still have to collect it.
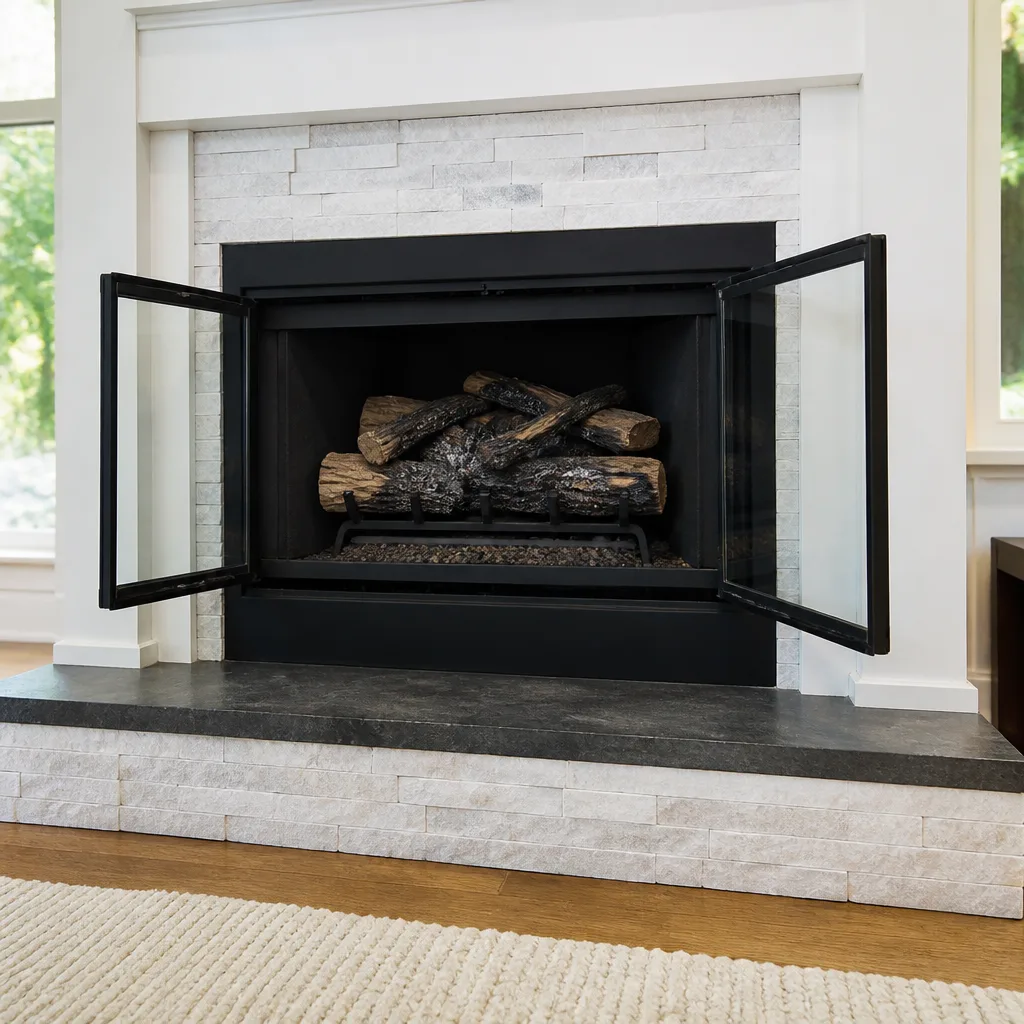
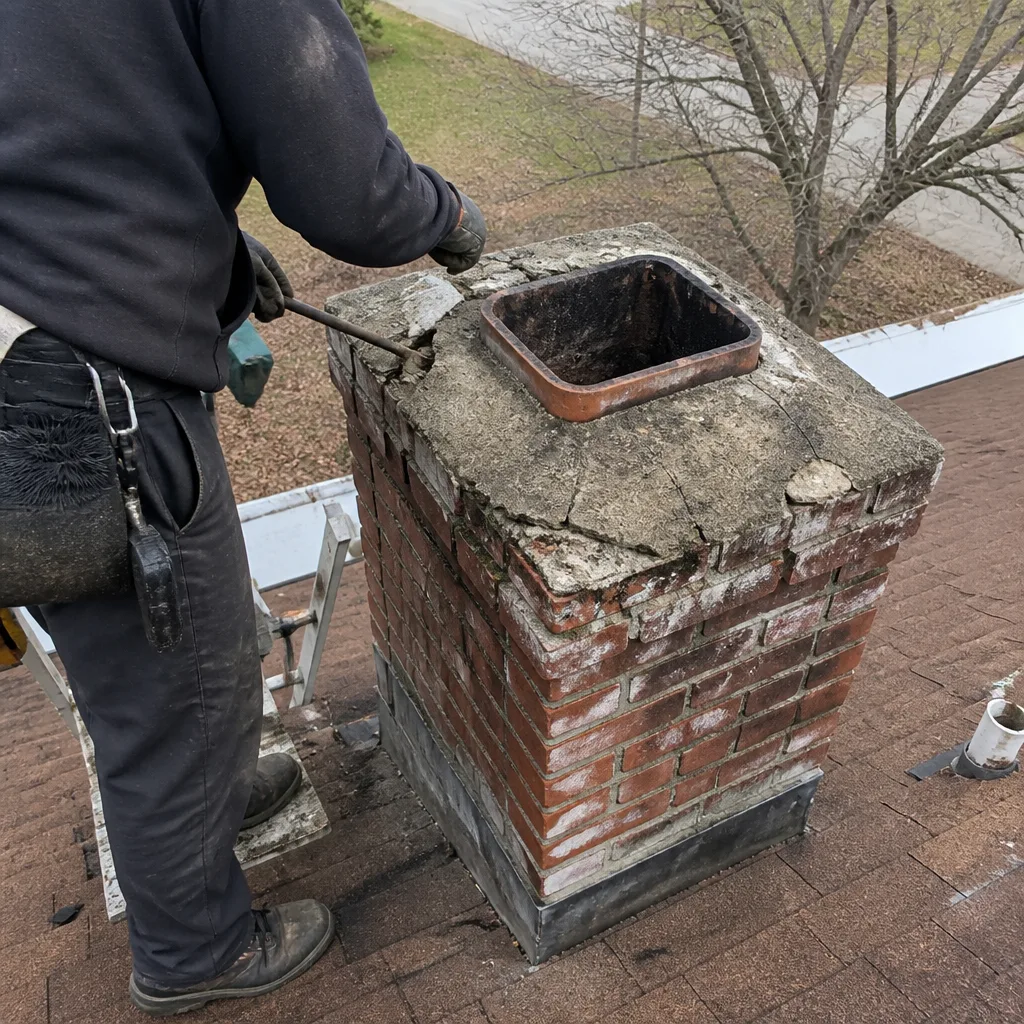 Before
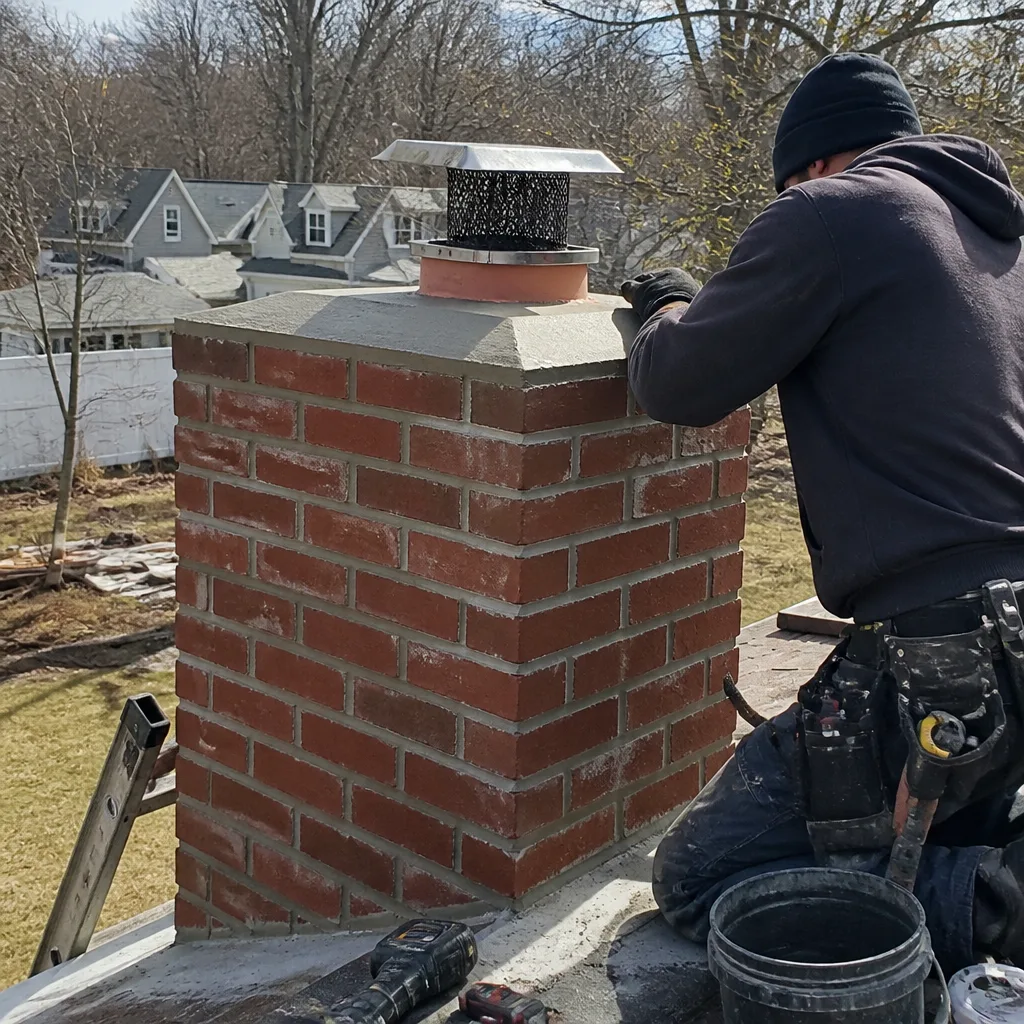 After
After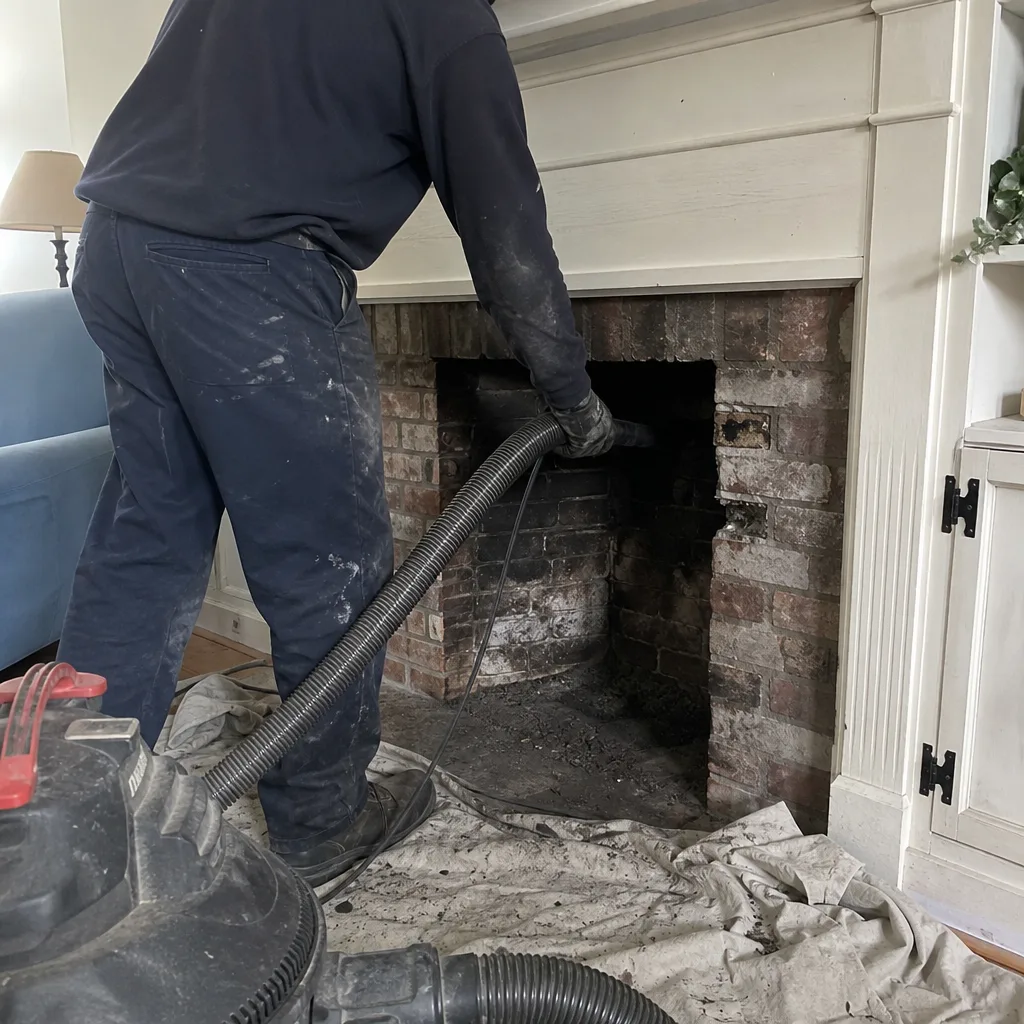 Before
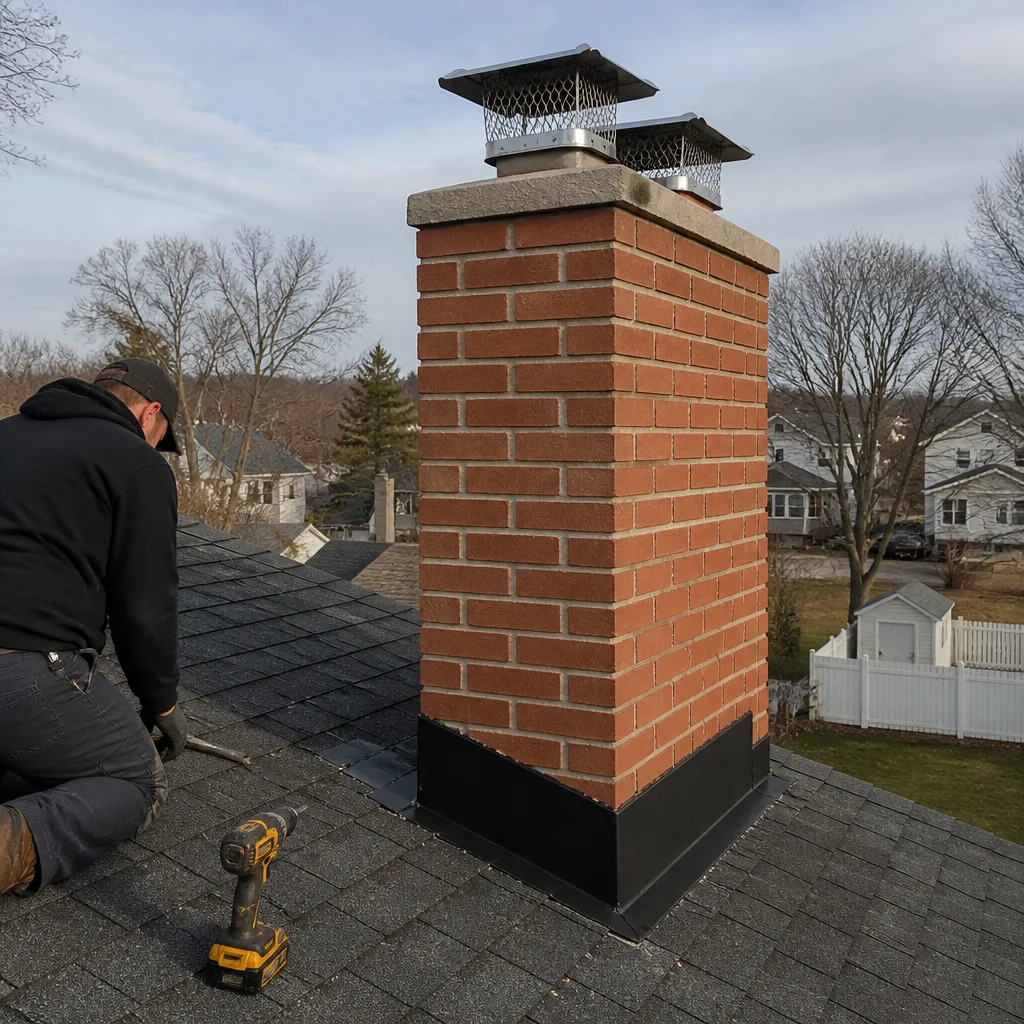 After
After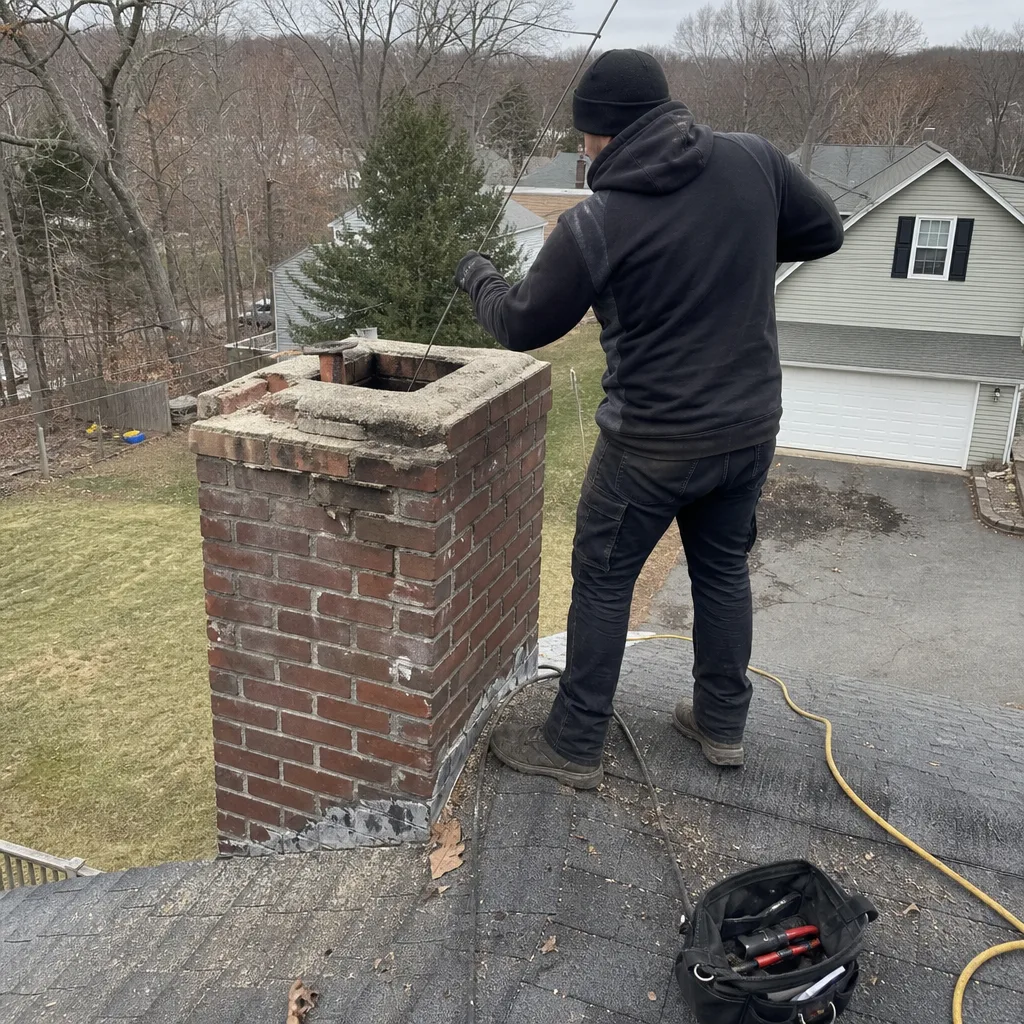 Before
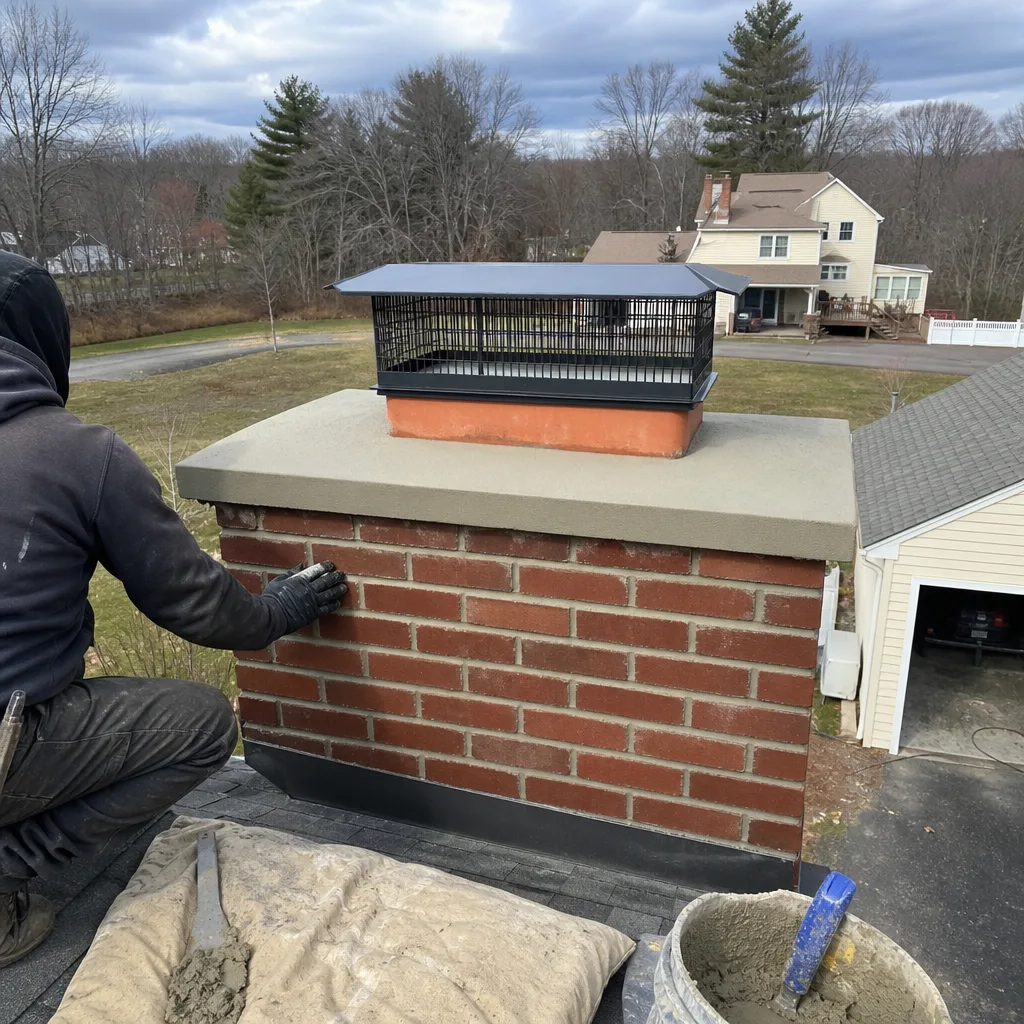 After
AfterChimney Cleaning & Sweep Maintenance Checklist for Haverhill Homeowners
Most Haverhill homeowners do absolutely nothing between annual chimney sweeps. They assume the once-a-year visit covers everything, then act surprised when a $200 sweep turns into a $2,400 crown rebuild. Here’s the thing: the single most preventable chimney problem in Haverhill, a cracked crown letting water into the brick, is visible from your driveway with a pair of binoculars on any dry afternoon. This checklist gives you the specific things to look at between Chimney Cleaning & Sweep services, so a small catch doesn’t become a big invoice. No vague “inspect annually” advice. Real things to check, in real Haverhill weather, with or without tools.
Quick Answer
Chimney maintenance in Haverhill means checking five things before your first fire of the season: the crown for cracks, the flashing for gaps, the damper for smooth operation, the firebox for crumbling mortar, and the cap for missing mesh. You can do all five in under ten minutes with a flashlight and a pair of binoculars. Then have a licensed sweep clean and inspect the flue once a year, burn or no burn, as covered in The Complete Guide to Chimney Cleaning in Haverhill,, because Haverhill’s freeze-thaw cycles do damage even when the fireplace sits cold.
Table of Contents
- A Month-by-Month Maintenance Calendar for Haverhill
- The Five Things to Check Before Your First Fire (Under 10 Minutes)
- What a Healthy Firebox and Damper Actually Look Like
- Creosote in Haverhill Chimneys: What You’re Looking At
- Does This Need a Sweep Now, or Can It Wait?
- How to Log Chimney Maintenance for Insurance Claims
- No Tools, Flashlight, or Licensed Sweep: What Each Level Can Catch
- Common Mistakes to Avoid
- When to Call a Professional
- Frequently Asked Questions
- The Bottom Line
A Month-by-Month Maintenance Calendar for Haverhill
Haverhill sits in the Merrimack Valley, which means real winters, wet springs, and the kind of October temperature swings that make mortar expand and contract like a bellows. Your chimney doesn’t need the same thing every month. It needs different things at different times, and most of them take less time than scrolling your phone on the couch. Here’s what we suggest, based on what we’ve seen in chimneys across Haverhill since 1999.
January and February: Burn Smart, Look Up After Storms
You’re burning regularly now, if you burn at all. Every third or fourth fire, glance up at the chimney top from outside after the fire is out. You’re looking for anything that changed: a tilted cap, a missing piece of mesh, a dark stain spreading on the brick, or mortar crumbs on the roof or ground below. Haverhill gets nor’easters that can rip a cap clean off. Catching that in February means a $40 bracket fix instead of a $600 cap replacement in April when the rain has been pouring down an open flue for two months. Inside, if you smell smoke in the house after the fire is fully out, don’t ignore it. That’s a drafting problem, and it’s often a damper or a cold flue issue, not just “old house smell.”
March and April: The Wet Season Is When Water Does Its Damage
March snowmelt and April rain are the two biggest water-intrusion months for Haverhill chimneys. The freeze-thaw cycle is brutal: water seeps into tiny cracks in the crown or brick, freezes overnight, expands, and widens those cracks. Repeat thirty times and a hairline crack becomes a channel. Walk outside on the first dry day after a rain and look for dark, wet-looking patches on the chimney brick that stay dark after the surrounding brick has dried. That’s water that got in and is slowly evaporating out. Also check the ceiling near the fireplace inside for any new water stains. No stain yet is good, but the dark brick outside is the early warning. Spring is the cheapest time to fix a crown or repoint brick, before summer storms and next winter’s freeze cycles compound it.
May and June: Post-Season Inspection and Bird Nesting Check
Burning season is over for most people. This is the time to do a real visual walkaround. Warblers, starlings, and squirrels love an uncapped flue in Haverhill, and May is prime nesting season. A nest in the flue is dangerous even if you never light a fire again until fall, because it blocks airflow, traps moisture, and becomes a fire hazard the moment a match is struck. Look for twigs poking out of the cap mesh, bird activity around the chimney top, or rustling sounds from the fireplace. This is also the ideal time to book your annual sweep, because Haverhill sweeps are less slammed than September and October, and you’ll get your pick of appointment times. We’ve always told our customers in Haverhill: book the sweep in May, and your fall is one less thing to think about. The Chimney Cleaning & Sweep in Haverhill page lays out exactly what a sweep includes if you want the specifics before you call anyone.
July and August: The Slow Season Is When Repairs Should Happen
Hot, dry weeks are the best time for masonry work, crown repair, flashing replacement, and liner work. Mortar cures better in moderate temperatures with low humidity. If your spring walkaround revealed cracks, crumbling mortar, or water stains, don’t wait until October. Haverhill repair crews book out weeks ahead in fall, and you’ll pay a premium for urgency. Summer work means the crew can take their time, the materials set properly, and the chimney is ready and cured by the first cold snap. This is also a good time to check the damper operation, since it hasn’t been moved in months. Open and close it slowly. Grinding, sticking, or a handle that’s suddenly loose are all signs the damper assembly needs attention, and far easier to address in August than in November when every fireplace in Haverhill is in use.
September and October: Pre-Burn Check, Then First Fire
September is the month to do the full “Five Things” check below. Do not light the first fire until you’ve done it. October in Haverhill is when most chimney fires happen, almost always because someone lit the first fire of the season without checking anything, and the flue had three months of debris, spider webs, or worse in it. The first fire should be small. A big roaring fire on a cold October night is a shock to a flue that’s been cold for six months. Start with a small, hot fire using dry kindling, let it establish, then add wood. If you smell something chemical or oily, that’s likely creosote heating up. That’s the signal to call before you burn again.
November and December: Mid-Season Vigilance
You’re burning regularly now. The two things to watch: creosote buildup and chimney cap snow and ice issues. If you burn softwood like pine (plenty of pine cut in New Hampshire makes its way to Haverhill fire pits), you’re building creosote faster than hardwood burners. Glaze, the shiny, tarlike third-degree creosote, is the dangerous one. It can’t be brushed. It has to be chemically treated or removed with specialized tools. If you look up the flue with a flashlight and the walls look glossy or shiny instead of powdery black, stop burning and call. And after heavy snow, if the flue cap is covered or the chimney is packed with snow, clear it off before lighting a fire. You need airflow up top for draft. A blocked cap means smoke backs up into the house and carbon monoxide risk builds.
The Five Things to Check Before Your First Fire (Under 10 Minutes)
These five checks, done in order, catch roughly 80% of the problems we find on first visits in Haverhill. You need a flashlight, a pair of binoculars (or a phone camera with decent zoom), and ten minutes on a dry afternoon. No ladders. No tools. This is not a substitute for a professional sweep and inspection. It’s the stuff between visits, the early warning system that keeps a $200 issue from becoming a $2,000 one.
1. The Crown: Look for Cracks and Dark Streaks (2 minutes)
Stand in your driveway or across the street and look at the very top of the chimney, the concrete or mortar slab that caps the brick. With binoculars or zoom, look for hairline cracks, missing chunks, or dark streaks running down the brick from the crown. The crown is your chimney’s umbrella. When it cracks, water gets into the brick and mortar, freezes, and spalls the brick face right off. In Haverhill’s freeze-thaw climate, a cracked crown is not a “someday” fix. It’s an “act before winter” fix. A proper crown should also overhang the brick edge by about two inches, dripping water away from the chimney. If it’s flush with the brick, water runs straight down the face. Make a note. That’s a candidate for a crown rebuild.
2. The Flashing: Look for Gaps and Pulled-Away Edges (2 minutes)
Flashing is the metal where the chimney meets the roofline. Walk around to where you can see the chimney base. Look for gaps between the flashing and the brick or shingles, rusted-through metal, or caulk that’s peeling away. Flashing fails slowly, and it fails quietly. Water gets in, runs down the inside of the chimney chase, rots the roof decking, stains the ceiling, and you don’t see it until spring. If you can see daylight through a gap or the metal looks twisted or pulled away from the brick, that’s a call to a chimney repair crew, not a shrug. Haverhill’s nor’easter winds are hard on flashing, and the side of the chimney that faces the prevailing wind often fails first.
3. The Damper: Open and Close It Fully, Slowly (1 minute)
Open the damper all the way, then close it, then open it again. You’re listening and feeling for anything that catches, grinds, or binds. A healthy damper moves smoothly through its full range. If it’s rusted in place, if the handle is loose, or if it doesn’t seal fully when closed, you’re losing heated house air up the flue all winter, and worse, you’re getting downdrafts. A damper that won’t stay open is a fire hazard because it can slam shut mid-burn. A damper that won’t close all the way costs you money in heating bills and lets cold air pour down the flue into the living room all winter in Haverhill. If it’s not operating smoothly, that’s a chimney repair, not a cleaning.
4. The Firebox: Look for Crumbling Mortar and White Staining (2 minutes)
Shine the flashlight around the inside of the firebox, which is the brick or refractory panel area where the fire actually burns. Look for missing or crumbling mortar between the firebrick, loose bricks, or white, chalky stains on the brick surfaces. White staining, called efflorescence, is water in the masonry. Loose firebrick means the protective layer between your fire and the house structure is compromised. A crack in the firebox floor is particularly important, because heat and embers can reach the framing below. We see this all the time in Haverhill homes built in the 1960s and 70s, where fireboxes are at the age where refractory panels start to crack. If the firebox damage is just surface, it might be repairable with a product like HeatShield, which we’ve used on plenty of older Haverhill fireplaces to buy them another decade or two. If it’s structural, you need real brick work.
5. The Cap and Mesh: Look for Missing, Tilted, or Clogged (3 minutes)
The cap sits on top of the flue and keeps rain, snow, animals, and debris out. The mesh sides keep birds and squirrels from nesting in the flue. From the ground with binoculars, check that the cap is still there (you’d be surprised how many blow off and the homeowner never notices), that it’s sitting straight, and that the mesh is intact. A tilted cap is worse than no cap, because it funnels water into the flue. A missing section of mesh is an open invitation to a starling nest. In Haverhill, squirrel nesting in chimneys is common enough that we do animal removal callouts several times each spring. A properly installed cap with intact mesh prevents 90% of those calls. If the cap is damaged or missing, that’s a chimney repair or chimney cap and crown job, not a cleaning.
What a Healthy Firebox and Damper Actually Look Like
Most homeowners have no baseline for what’s normal. They look at a firebox and think, “It’s black, it’s a fireplace, looks fine.” But black is a spectrum. And “looks fine” is how you miss the early signs of a problem that a trained eye would catch in thirty seconds. Here’s what a healthy firebox and damper look like, so you can compare yours against a concrete baseline instead of a vague feeling.
A Healthy Firebox
The firebrick should be intact, with tight mortar joints and no obvious gaps or missing sections. The brick surfaces will be dark from use, but the darkening should be a sooty film, not a thick, crusty, or shiny coating. The floor of the firebox should be flat and solid, with no crumbled brick fragments or mortar sand accumulating in the corners. The walls should be vertical and true, not bowed, bulging, or leaning. The damper opening at the top of the firebox should be clear, with no visible accumulation of soot or debris hanging from the edges. You should be able to see clean brick or metal, not a thick black curtain of gunk. If you tap a firebrick gently with a piece of kindling, it should sound solid, not hollow. A hollow sound means the brick has separated from the mortar bed behind it.
A Healthy Damper
A functioning damper is a metal plate or set of plates that pivots open and closed at the throat of the chimney, just above the firebox. When open, it should be positioned fully out of the flue path, meaning you should have a clear sightline up into the flue with a flashlight. When closed, it should meet its frame evenly all the way around, with no visible gaps. You can test the seal by closing it and holding a lit candle or lighter near the edges. If the flame flickers or bends toward the damper, air is leaking through, which means heated house air is escaping up the chimney. That’s a damper that needs adjustment or replacement. If the damper is the kind with a chain or lever, test the full range of motion. It should move without forcing, and it should hold its position when you let go. A damper that won’t stay open is a hazard. A damper that won’t fully close is an energy leak that adds up over a Haverhill heating season.
The Smell Test
This one costs nothing and tells you a lot. On a humid summer day, stick your head into the fireplace and sniff. A healthy chimney has a faint, dry, sooty smell. It should not smell damp, musty, or like a wet basement. It should not smell strongly acrid or chemical. An acrid, sharp smell in July usually means creosote or a blocked flue. A musty smell means water is getting in somewhere. If you smell something you’d describe as “campfire that went out a week ago,” that’s normal. If you smell something you’d describe as “tar,” that’s glaze creosote, and it’s a call to get it chemically treated before you burn again.
Creosote in Haverhill Chimneys: What You’re Looking At
Creosote is the byproduct of incomplete combustion. It builds up on the walls of your flue every time you burn, and the type of creosote matters more than the amount. A chimney with a quarter-inch of powdery creosote is a routine cleaning. A chimney with a quarter-inch of glazed creosote is a hazard. Here’s the difference, because knowing what you’re looking at is half the battle.
First-Degree Creosote: Flaky, Powdery, Brushable
This is the normal stuff. It looks like black dust or flaky soot. It brushes right off with a chimney brush, and a standard sweep clears it. You’ll see this on the walls of the flue after a season of hot, dry, well-seasoned hardwood fires. In Haverhill, if you burn seasoned oak or maple, this is what you’ll typically produce. A yearly sweep handles it. Nothing to panic about. In our experience, first-degree creosote is what we find in most well-maintained Haverhill chimneys that get swept annually. Your flue doesn’t care how the fire looks. It cares how it breathes, and a flue with a light layer of first-degree creosote that’s swept once a year breathes fine.
Second-Degree Creosote: Crusty, Grainy, Hardened
This is first-degree that’s been baked by repeated fires, and it’s harder to remove. It looks like black, granular flakes that have started to harden onto the flue walls. It’s more common in chimneys that burn pine or green wood, or chimneys where the fires run cooler than they should. It’s brushable with effort, but it takes longer and may need a rotary brush, not just a standard sweep. If you’re seeing second-degree creosote, it’s a signal to check what you’re burning and how hot your fires run. Burning dry, seasoned hardwood and building smaller, hotter fires instead of big, smoldering ones is the fix.
Third-Degree Creosote: Shiny, Glazed, and Dangerous
This is the one that causes chimney fires. Third-degree creosote, also called glaze, looks like black glass or tar. It’s shiny, hard, and it won’t brush off. It’s formed when creosote is repeatedly heated and re-condensed, which happens in chimneys that burn cool, smoldering fires, or where the flue is oversized for the appliance, or where the wood isn’t dry enough. Glaze is fuel. If it ignites, it burns extremely hot, and a chimney fire can crack the flue liner, spread into the framing, and destroy the house. If you look up your flue and see shiny or glossy walls, stop burning and call a professional. First-degree creosote is a brush job. Third-degree is a glaze, catch it early. Removing glaze requires chemical treatment, often with a product like our standard creosote remover followed by a mechanical cleaning, or in severe cases, a liner replacement. This is not a DIY job, and it’s not something that can be ignored until next season.
Does This Need a Sweep Now, or Can It Wait?
Not every chimney issue is an emergency. Some things can safely wait until your scheduled annual sweep. Some things mean you should not light another fire until a professional has looked. Here’s how to tell the difference, plain and simple.
Signs You Can Wait for Your Scheduled Annual Sweep
- Light, flaky, first-degree creosote: This is normal accumulation. A standard yearly sweep will clear it. No need to schedule anything extra.
- Minor efflorescence (white staining) on interior firebox brick without a crack: It’s a sign of moisture, but if there’s no crack and no active leak, it’s a watch-and-see item. Mention it at the next sweep.
- A damper that’s slightly stiff but still opens and closes: It’s an inconvenience, not an emergency. You can operate it manually. The sweep can lubricate or adjust it at the annual visit.
- Sooty smell in the house on humid summer days: Common in Haverhill’s humid summers. The smell is creosote baking in humidity. It’s a reminder to get the sweep scheduled, but it doesn’t mean the house is unsafe tonight.
- A cracked firebrick in the wall (not the floor) with intact mortar behind it: One cracked wall brick isn’t a structural emergency. It can be replaced at the next repair visit. Don’t poke at it.
Signs You Should Call Before You Light Another Fire
- Shiny, glazed creosote anywhere in the flue: This is the highest-risk condition we see short of an actual chimney fire. Stop burning. Call now.
- A cracked or spalling firebox floor: Heat can reach the framing below. This is a safety issue, not a cosmetics issue. Stop using the fireplace until it’s repaired.
- The smell of smoke in the house after a fire is fully out: That means the flue isn’t drafting, and carbon monoxide can build up. This is not a “burn a different wood” problem. Call.
- A missing or badly tilted chimney cap: Rain is entering the flue. Water is soaking the liner and the masonry. Every week it stays open makes the eventual repair more expensive. Call before the next rain, and certainly before the next fire.
- Visible smoke coming out of the chimney when there’s no fire: That’s not smoke. That’s either steam (less likely) or a neighbor’s chimney (more likely), but if you’re sure it’s yours, something is burning inside the flue. Call now.
- You heard a loud pop or rumble from the chimney during a fire: That’s a chimney fire, even if it burned itself out. The flue liner is compromised until proven otherwise. Call for a full inspection before burning again.
When in doubt, call. A chimney inspection costs less than a deductible, and it’s free to ask. Top Hat Chimney home has the phone number and the details. We’d rather answer a question that turns out to be nothing than have you find out the hard way that it was something.
How to Log Chimney Maintenance for Insurance Claims
Here’s the thing no one tells you until they need it: after a chimney fire, your insurance company will ask for proof that you maintained the chimney. If you can’t show documentation, they can and sometimes do deny the claim. A maintenance log is cheap insurance, and it takes two minutes a year to keep.
What to Record
You don’t need a fancy spreadsheet. A paper notebook in the kitchen drawer works. A note on your phone works. What matters is that it’s dated and it’s specific. Here’s what to record every time:
- The date of every chimney sweep, inspection, repair, or cap replacement.
- The company name and the technician’s name who did the work. Ask for the tech’s name if you don’t have it. It matters for verification.
- What was done: “Swept, inspected, camera scan, replaced cap mesh,” or “Repaired crown with crown coat material, repointed 8 bricks.”
- What was found: “Second-degree creosote present, swept and cleared. Crown had hairline crack, sealed.”
- What was recommended and whether you did it: “Recommended cap replacement. Scheduled for May.” If you don’t do a recommended repair and there’s a fire later, that’s exactly what the insurance company will ask about. Record your decision either way.
- Photos: Take a photo of the invoice, and ideally a photo or two of the chimney from the ground before and after. Time-stamped photos are harder to dispute.
What Documentation Strengthens a Claim
The strongest documentation is a consistent, multi-year record that shows regular annual maintenance. A single sweep receipt from three years ago is weak. Three years of consecutive sweep records, a camera inspection report showing the flue was in good condition, and a log noting that you addressed all recommended repairs, is strong. If you have a camera inspection done (we include one with every sweep in Haverhill, and you get the footage), keep the file or the link. The camera footage and a plain-English verdict, every time, no exceptions, as we explain in more guides & resources. That footage is your best evidence if a dispute ever arises. It shows what the flue looked like on a specific date, before anything happened.
Digital vs. Paper
Digital is better in one specific way: paper burns. If the worst happens, a paper log in the kitchen doesn’t survive the fire you’re filing the claim for. Back up your log to a cloud service, email photos to yourself, or keep a shared document. Some of our Haverhill customers keep their maintenance log in a shared Google Doc so their adult kids can access it. Do whatever works, just make sure it’s not stored in the one building most likely to burn.
No Tools, Flashlight, or Licensed Sweep: What Each Level Can Catch
Different checks catch different problems. Here’s a breakdown of what you can reasonably assess yourself, with no tools, with just a flashlight, and what genuinely requires a licensed sweep with a camera and a trained eye.
No-Tools Ground Check (Binoculars and Phone Camera Count as No Tools)
From the ground, you can catch: a cracked or missing crown, a missing or tilted cap, damaged or missing mesh, dark water streaks on the brick, efflorescence, spalling brick with chunks missing from the face, gaps in flashing, rusted flashing, and leaning or structural issues with the chimney stack itself. You can catch all of this from your driveway. Most homeowners in Haverhill never do this check, and it’s free. Do it twice a year, spring and fall, and you’ll catch 80% of the water-related problems before they become interior damage.
Flashlight Check (Interior Firebox and Flue from Below)
With a flashlight through the fireplace opening, you can catch: visible creosote buildup in the lower flue, a damper that’s rusted or won’t operate, crumbling firebrick or missing mortar in the firebox, cracks in the firebox floor, animal debris like nesting material, and water staining on the firebox walls. You can also hold a mirror or your phone camera up into the flue to get a partial view upward. You won’t see the full flue, and you won’t see the upper third, but you’ll catch a lot. If you see anything that concerns you, that’s the call to schedule an inspection.
Licensed Sweep with Camera Inspection
Some things are invisible without a camera pushed up the full length of the flue. A sweep sees: the full flue interior, including cracks in the liner that aren’t visible from below, separated or offset liner sections, spalling flue tile, gaps in the mortar joints between flue tiles, third-degree creosote glazing, blockages like a bird nest or masonry debris mid-flue, and hidden water damage behind the visible brick. A camera inspection also gives you a permanent record, which, as discussed above, is your insurance documentation. In Haverhill, where many homes predate modern liner standards, we find a lot of unlined or terracotta-lined chimneys with cracks that the homeowner would never see from the firebox. That’s what the camera is for. We’ll show you the footage, explain what it means, and give you a straight answer on whether it needs work now or can wait. And if you’ve been quoted a liner replacement by another company, Chimney Repair in Haverhill is the page that explains how we evaluate those recommendations, including the free second opinion we offer on any written estimate.
Common Mistakes to Avoid
- Assuming the annual sweep is optional if you don’t burn much. Chimneys break in the off-season too. Water, animals, and freeze-thaw cycles don’t care whether you lit a fire last year. Once a year, burn or no burn.
- Using a fire as the test for whether the chimney works. Lighting a fire in an unmaintained chimney is the test that burns the house down. The time to find out the flue is blocked is during an inspection, not at 800 degrees with flames in the firebox.
- Burning green or unseasoned wood and then wondering why the creosote builds up so fast. Green wood smolders, and smoldering is what makes creosote. In Haverhill, seasoned hardwood means split and stacked for at least 12 months, not “I cut it last month.”
- Ignoring a cracked crown because “it’s just a little crack.” A hairline crack in a Haverhill winter becomes a wide crack in one season, and a wide crack lets in enough water to spall brick and rot the structure behind it. The crown is the single most important water barrier on your chimney.
- DIY firebox patching with the wrong material. Firebox repair requires refractory material rated for high heat. Standard mortar mix or caulk will crack and crumble, and can even release fumes. This is one of those jobs where the wrong fix is worse than no fix.
- Not checking the chimney after a major storm. Haverhill nor’easters and ice storms damage caps, flashing, and brick on a regular basis. A post-storm ground check costs ten minutes. Ask anyone on your street who’s had a cap replaced what it would have cost to catch it earlier.
- Hiring on price alone. The cheapest sweep in the area may or may not do a real inspection, may or may not have a camera, and may or may not be reachable when something goes wrong. The price you hear on the phone should be the price on the invoice. If a company won’t commit to that, that’s the answer.
When to Call a Professional
Call a professional any time you see glazed creosote, a cracked firebox floor, smoke in the house after a fire is out, a missing cap, or any condition on the “call before you light another fire” list above. Call if you’ve never had a camera inspection done and your chimney is more than twenty years old. Call if you smell something acrid from the fireplace on humid days and you don’t know the last time it was swept. Call if you’ve got a written estimate from another company for a liner or masonry job and you want a second set of eyes on it. Top Hat Chimney offers free estimates in Haverhill, with no trip charge inside the county. Call (978) 724-7935. We answer the phone with a live person, and we’ll give you a straight answer, even if the answer is “that can wait.”
Frequently Asked Questions
Once a year, burn or no burn. Haverhill’s freeze-thaw winters, humid summers, and nor’easter seasons do damage whether or not you light a fire. The National Fire Protection Association recommends annual inspection, and in this climate, we see the most problems in chimneys that skip years. If you burn more than two cords a season, or burn pine, you may need a mid-season check. Call (978) 724-7935 and we’ll tell you what we’d recommend for your specific setup.
A standard sweep and inspection in Haverhill typically runs $169 to $279 depending on the height of the chimney, the type of liner, and what condition it’s in. Add a camera inspection and you’re generally $219 to $329 all-in. The number you hear on the phone is the number on the invoice, flat and up front before we start. Call (978) 724-7935 for an exact quote for your chimney, and ask about our senior and veteran discount.
You can physically brush a flue yourself if you buy the right equipment and don’t mind the mess, but what you won’t get is the trained eye that knows what a problem looks like. A professional sweep is not just brushing. It’s looking at what comes off the walls, what the damper is doing, what the cap looks like from above, what the flash finding tells you. Most Haverhill homeowners find that the price of a pro sweep is worth the inspection alone. If you do DIY, you still need a professional inspection annually, and you should not attempt any work on glazed creosote or structural repairs yourself.
Skipping a year means creosote builds, small leaks get bigger, animal nests go undetected, and problems compound. If you burn regularly and skip a year, you may be burning with second-degree creosote on the walls, which is the precursor to glaze. If you don’t burn at all and skip a year, you may miss a crown crack that’s letting water in all winter, and by the time you see the ceiling stain, the repair is five times what it would have been. Either way, skipping years is the most expensive way to maintain a chimney.
Creosote sweeping logs can help loosen first-degree creosote and make it easier to brush away, but they are not a substitute for a real sweep. They don’t brush the flue, they don’t inspect anything, and they do nothing for glazed creosote. In our experience, the useful role for a creosote log is between professional sweeps, not instead of them. If you’re burning pine and you notice buildup mid-season, a log can buy you some time until the sweep comes. But if the creosote is at all shiny or glazed, a log won’t touch it, and the flue needs professional attention before you burn again.
How do I know if my chimney has a cracked liner?
A cracked liner usually can’t be seen from the firebox. The signs are indirect: smoke odor in the house, draft problems, pieces of flue tile at the bottom of the chimney, or visible cracks in the chimney exterior that suggest water is getting in. The only way to know for sure is a camera inspection